
The best window in Canada performs like a cheap one if it’s installed badly, and most installation faults are invisible a week later, once the trim is on and the caulk has skinned over. The time to check is while the crew is still on site. Here’s what to look at, window by window, before you sign off and pay the balance. None of it requires tools beyond a level and a flashlight.
What to Watch During the Install
You don’t need to hover, but three things are worth a glance while the opening is bare, because you can’t check them afterward:
- The old frame came out to what was quoted. Full-frame means down to the rough opening; retrofit means the old frame stays but the sashes and stops are gone.
- Rot was dealt with, not covered. If a sill or stud was soft, you should be told and shown, and it should be replaced before the new unit goes in.
- A sill pan or flashing membrane went in on full-frame installs: a self-adhered membrane across the sill and up the jambs before the window is set.
Operation and Fit
Open, close, and lock every window yourself. Casements should crank smoothly through the full swing and pull tight against the frame on all sides when locked; if you have to push the sash to engage the lock, it isn’t square. Sliders and hung windows should move with one hand, tilt in and out without forcing, and lock without lifting. The gap between the sash and frame (the reveal) should be even all the way around; a wedge-shaped gap means the frame was racked when it was fastened.
Level, Plumb, and Square
Put a level on the sill and on a side jamb. Both should read level and plumb; a couple of millimetres over a metre is fine, more isn’t. Measure the two diagonals of the frame from inside corner to inside corner; if they differ by more than about 3 mm, the window is out of square and will bind over time. Sight along the frame for bowing: a frame pulled in by over-tightened screws or pushed out by too much foam will show as a curve, and it’s the reason a new casement won’t seal.
Perimeter Insulation
The gap between the new frame and the rough opening should be filled with low-expansion foam, continuously, all the way around. Before the interior trim goes on, look at the gap with a flashlight: you should see foam, not daylight, fibreglass stuffing, or nothing. Foam should be trimmed flush, not bulging. If the trim is already on, ask the crew to show you one opening before they trim it. On a cold day, a bare hand around the perimeter should feel no draft.
Exterior Sealing and Flashing
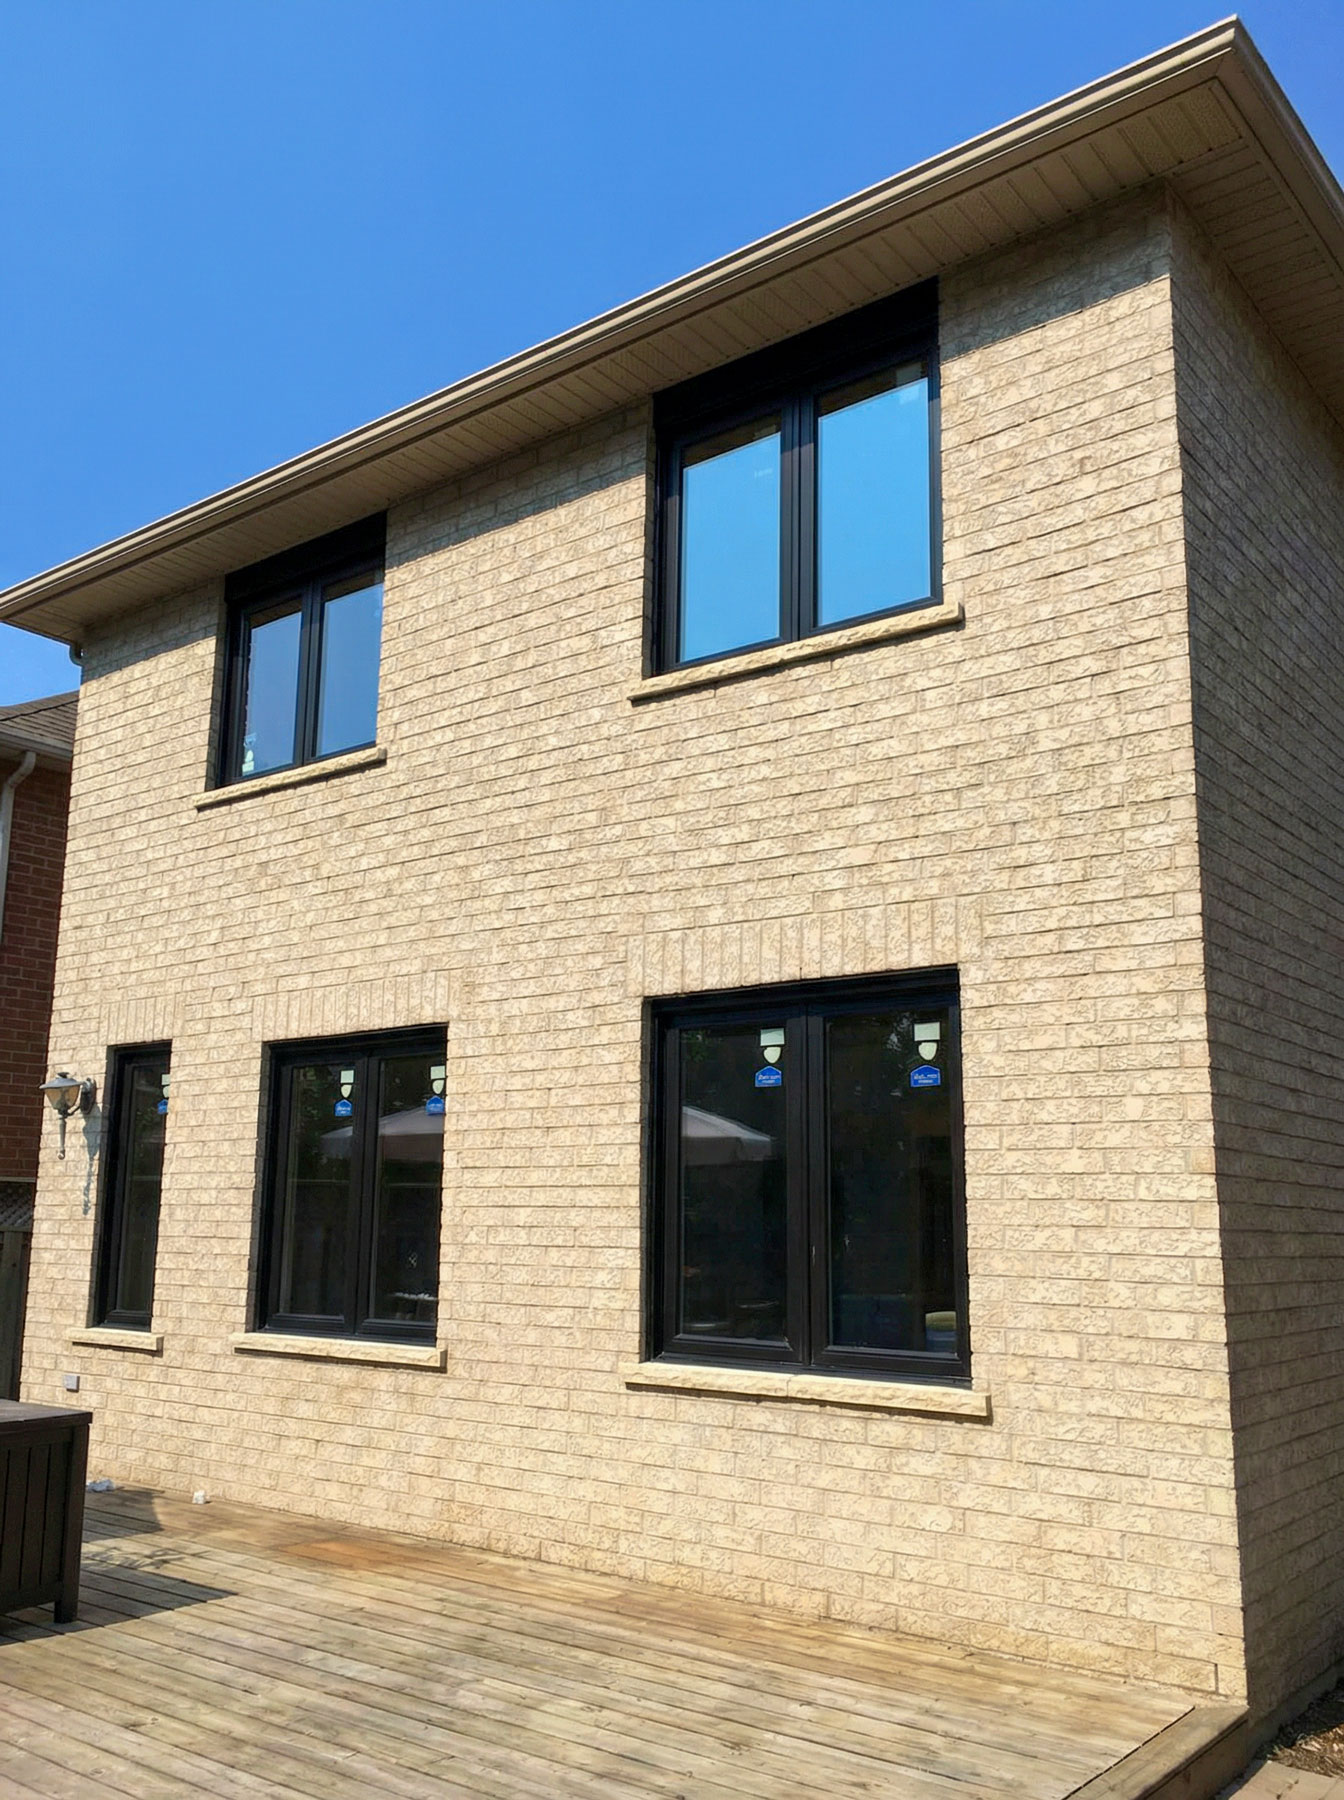
- Caulking is continuous between the frame or brickmould and the brick or siding, tooled smooth, with no gaps at corners. Exterior-grade polyurethane or silicone-hybrid, not painter’s latex.
- The bottom edge is not caulked shut where the design relies on weep holes or a drainage gap; water that gets behind the trim needs a way out. Ask the installer which detail they used.
- Aluminum capping (on retrofits) is tight, straight, mitred cleanly at corners, and sealed at the top and sides, with the bottom lapped so water sheds out.
- A drip cap or head flashing is present above the window on full-frame installs and on siding-clad walls.
- Weep holes on the exterior bottom of the frame are open, not caulked over.
- Brickmould and trim match what was quoted: profile, colour, and material.
Interior Finish
Jamb extensions should be flush with the drywall with no lip. Casing should be tight to the wall, corners mitred closed, nail holes filled if painting was included. Caulk between casing and wall is neat. If plaster returns were to be preserved, they’re intact. No foam residue on frames, floors, or walls; it’s nearly impossible to remove once cured.
Glass, Screens, and Labels
- Glass is clean, unscratched, and free of the thin scratches from a razor blade used to clean off labels.
- No cracked or chipped panes, and no foreign matter between the panes.
- Grilles match the order and line up across adjacent windows.
- Screens are fitted to every operable window and sit flat.
- The ENERGY STAR® label or the manufacturer label is still on the glass or in the frame channel; you’ll need it for a rebate claim. Photograph it before removing.
- Tempered glass, where required near doors, tubs, or floors, has the etched tempering mark in a corner.
Cleanup and Paperwork
Old windows, packaging, and debris are gone, floors vacuumed, and the yard swept with a magnet for nails and screws. You should have the manufacturer’s warranty document, the installer’s written labour warranty, and an invoice that names the products installed. Our warranty guide explains what to look for in those documents.
If You Find a Problem
Point it out before the crew leaves; almost everything on this list is a ten-minute fix on the day and a service call a month later. A good installer will want to know. Hold back the final payment only for genuine defects, note them in writing, and agree on a date for the fix. If the company won’t address a clear defect, that’s what the labour warranty and, ultimately, your written contract are for.
Every WideView installation ends with a walkthrough of exactly these points with the homeowner. We’d rather fix something while the ladder is still up. See what installation day looks like for the full timeline.
Want an Installer Who Walks You Through It?
Over 20 years of installations across London and the GTA, fully insured and WSIB-covered, with a written labour warranty on every job.

A family-owned business that supplies and installs high-quality windows and doors throughout Mississauga, Oakville, London, and surrounding areas in Ontario. Over 20 years of experience and a reputation built entirely on customer referrals.